captpete13
Senior Member
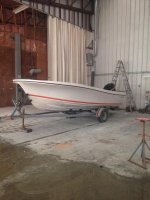
That's some good looking glass work. I'm glad to see you're still making progress.
Follow along with the video below to see how to install our site as a web app on your home screen.
Note: This feature may not be available in some browsers.


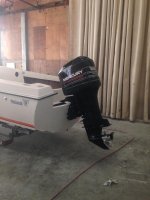
The thought crossed my mind to wait and see the water line.


... when you drop your screwdriver down there and it's laying against the out side of the stringer.