hey Skools...

here she is

sorry blue about the bad use of words. won't happen again :-X

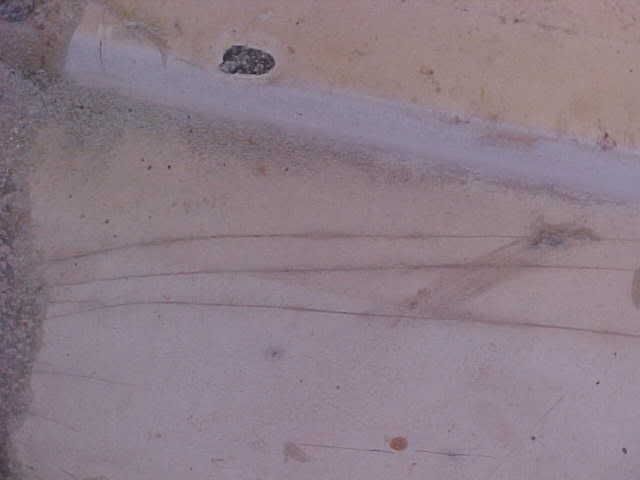
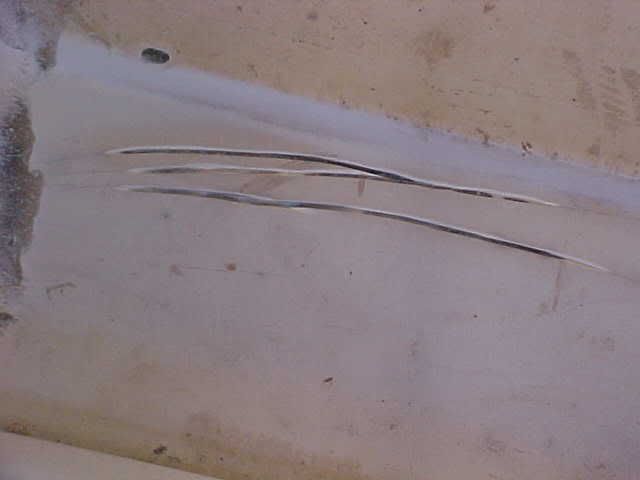
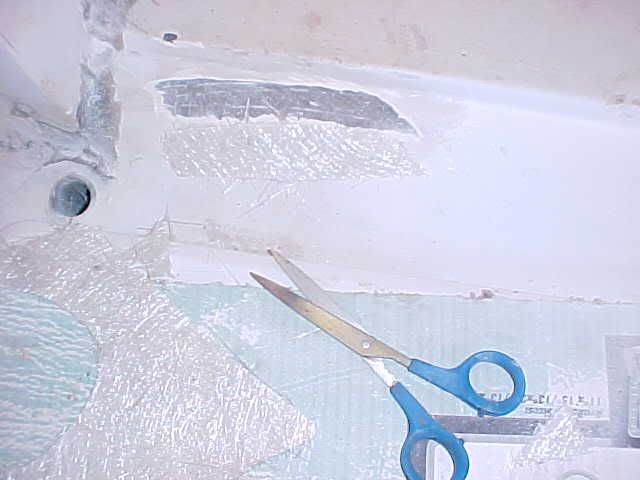
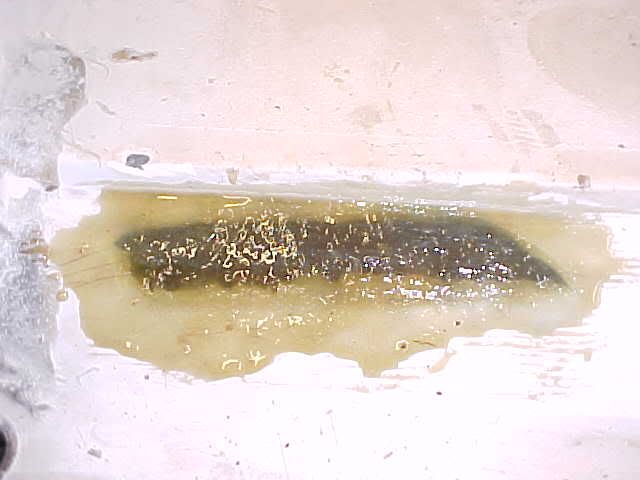
hey skools here is a photo before i tore it apart. you can see the crack on the left bottom and it continues up to the top of where the sheet metal piece stops. the crack is on the inside only. thank god. ;D

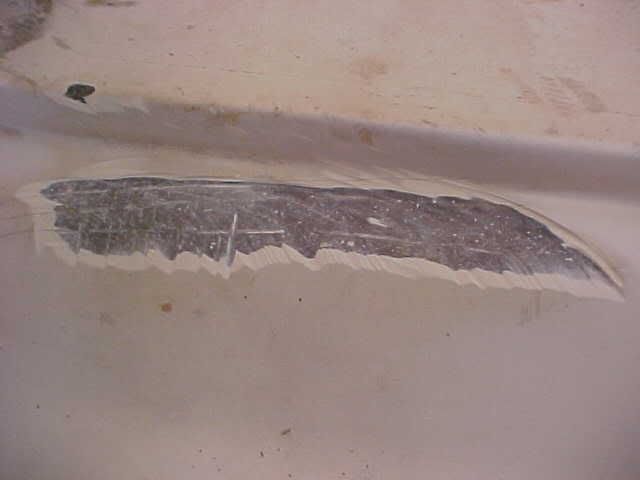
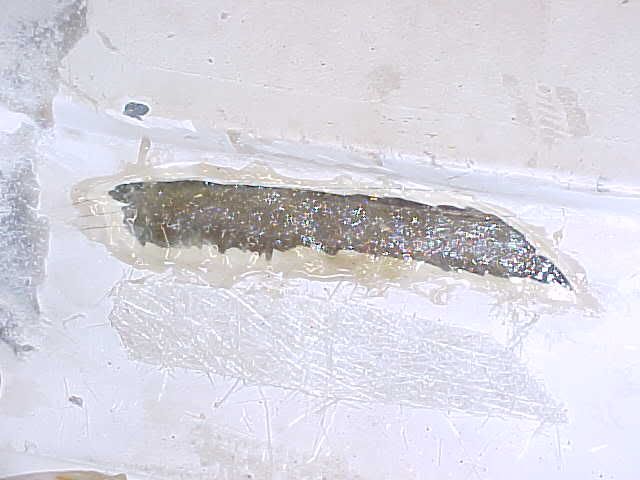
i am assuming the cause of the rust is from a leaky anchor cleat on top the bow and running down the bolt for the last 20 years.

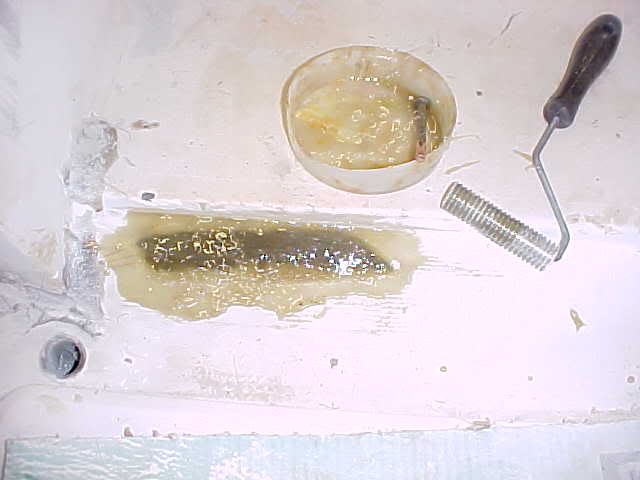
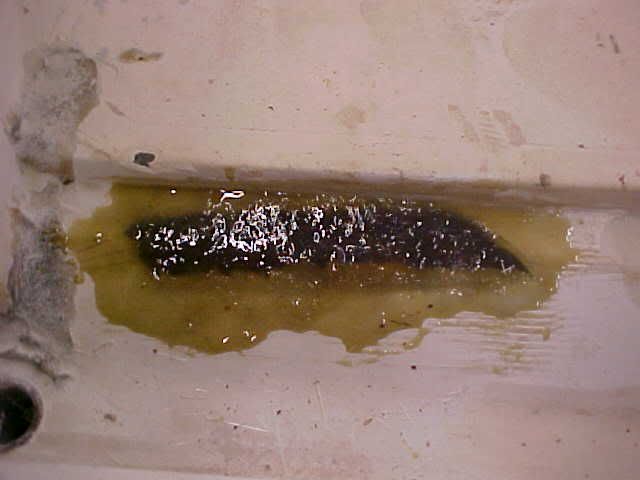
i have never worked with fiberglass is that the best fix or is there something else


boweye.jpg
 
ouch that appears to be a delaminating type crack that's where the glass stops that runs down the sides i've got some cracks to fix in a boat too. I'll take pictures of all the stuff as i cut out the area. Not hard to fix.
 
I THINK IF I JUST CLEAN OUT THE CRACK AND FILL IT WITH COMPOUND, THEN TAKE A PIECE OF FIBER AND LAY OVER THE AREA AND SMEAR SOME MORE COMPOUND ON TOP IT SHOULD BE FINE. IT IS NOT LIKE IT HAS TO LOOK PRETTY, AS LONG AS I THINK IT WILL HOLD. RIGHT ???
 
well that won't really hold to well unless you cut into the crack and then grind the cut back each way then lay in several small piece's of glass starting small and get a little larger each piece then sand smooth and paint.
 
GOT YA ;)

ANY SPECIAL TYPE OF PAINT?

SORRY FOR ALL THE QUESTIONS, I REALLY APPRECIATE ALL YOU GUYS HELPING ME OUT WITH MY NEW PROJECT BOAT.

;D
 
i can tell you why it's cracked. that plate and cleat or eye on the bow is designed to lift the boat out of the water. Some one has used it to lift your boat and the weight over the years has cracked your bow from it. It's most likely going to be a deep crack. paint wise use any ol spray paint that matches your boat inside. Look at the parts i sent in that other posting. If you want to keep that i'd just replace the bracket, rod, and the bow eye/ cleat style. i'd buy these 3 below.

$18.99
50-30241.jpg


$19.95
50-30201.jpg


$24.95
50-30190.art


$6.45
7-0124.jpg
 
Crack Repair's 101

Crack Repair's 101


Tools of the Trade or may need for some to most repairs.
Grinder, Air Ginder, Air D/A Sander, Air Line Sander, Air Palm Sander, Air Die Cutter, Air Gun, Leather Hammer, Safety Glass's, Safety Mask, Gloves, fiberglass roller, fiberglass, Resin and hardner, and Not pictured cheap paint brush and sharp sissors.
Monaco21_016S.jpg

here's the crack i had before repairs ( didn't really need to go this extreme for this small crack but only crack i could find to fix ) LOL

Monaco21_014S.jpg


Take the grinder or die cutter and cut in just the cracks into the glass as seen below.
Monaco21_018S.jpg


Take the grinder now and grinder the glass down in the center of the crack or cracks like a V shape or valley so you can layer the glass for better and stronger bonding. till you have the crack cut line hard to see.
Monaco21_020S.jpg


now blow out the area clean then take the sissors and cut the glass to fit in the area you have ground out.
Monaco21_022S.jpg


Now cut a second piece of glass that is smaller and just covers the crack.
Monaco21_023S.jpg


now mix your resin and hardner up and either brush or in this case just take your finger with the gloves on and rub resin in the area to be repaired. then soak the smaller piece of glass and then lay it in the center and either roll it out or just use your fingers to get it smooth with no air bubbles.
Monaco21_024S.jpg


now soak the larger piece of glass and lay it on top of the smaller one to cover the entire area you ground out and roll it or use your fingers to smooth it out too.
Monaco21_025S.jpg


then pour some of the left over resin on the repair and let it soak in all and wait for it to cure.
Monaco21_027S.jpg


This is my patch i did today and is now curing.
Monaco21_028S.jpg


Monaco21_029S.jpg


Any other questions ask away hope this helps guys. good luck. ;D

Any clean up can be done easily with Lacquer Thinner.

Will post the sanding and finishing once this job dries probably tomorrow.
 
Last edited:
Skools, you are goin big time man. I just hope you don't forget about how you found this site once you have your V-20 television show ;D

Great info once again. Good instructions are hard to come by.
 
Ironic he chose ''Skools Out'' as screen name...everytime he posts, most definately ''Skools IN!!'' ;D...good stuff... 8)...

Glad you liked the Fat Boy, Willy.... :)...
 
HOLY S*#T!!!! :o

WOW SKOOLS, THANKS A LOT. I NOW KNOW EVERYTHING I NEED TO KNOW. I WILL TAKE PROGRESS PRINTS OF MINE AND SHOW YOU THE FINAL PRODUCT. I WILL BE STARTING ON MONDAY NIGHT WITH THE FEW HOURS OF DAYLIGHT I HAVE AFTER WORK.

THANKS AGAIN.
 
Great stuff!!

Great of you to take step by step pic to help out!!

You have a lot more time on your hands then i do, thats for sure!!
I can and have done this stuff. But it takes special person to have the Patience to explain this and show this stuff!!

You the man Skools!
3953513c.gif
 
I have seen them at boaters world, eb marine west marine, any where that sells glass supplys. I have 2 different sizes.
 
HOT-O-MITEY...THANK YOU, SKOOL!!!...now that's some glassin' instructions even I can understand...everything else was like it was written by a NASA GEEK... ::)...still wanna go ahead and promote you to GOD status...if I could, it would have already been done!!... ;) ;D...

OK, OK...my apologies to all the NASA GEEKS out there ::)...
 
Back
Top