Operation "Hatch Repair" underway

frayed_knot

Senior Member
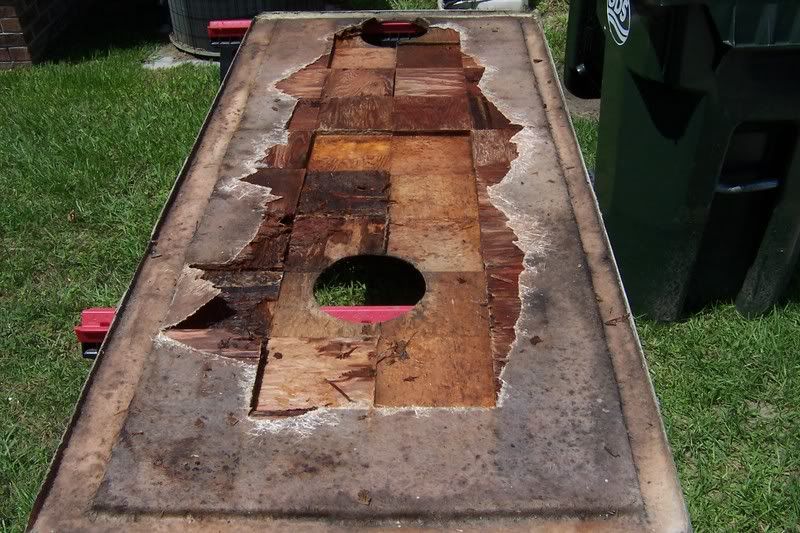
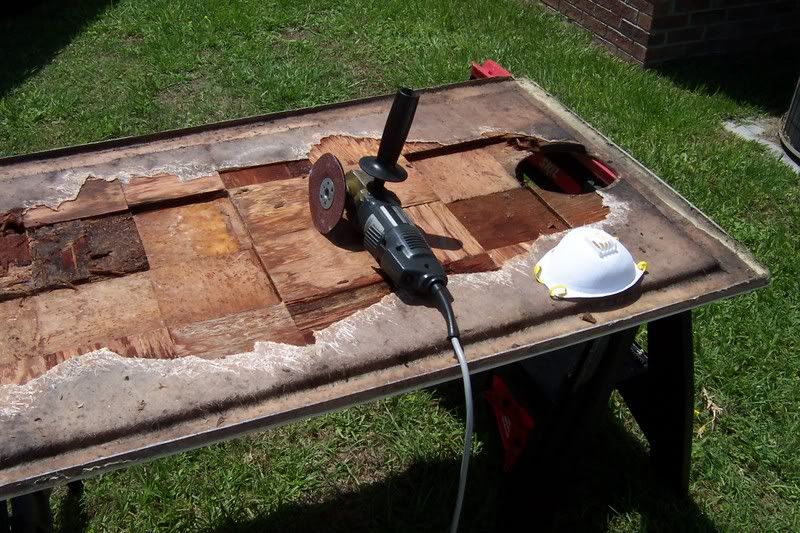
The weather was so pretty today, I shoulda put the boat in the water and went fishin', but I was in an ill mood (that means bad mood for all ya yanks) and I really didn't want to fight the idiots at the ramps. I decided it was a good time to get my repair started so it could be done by the long weekend.

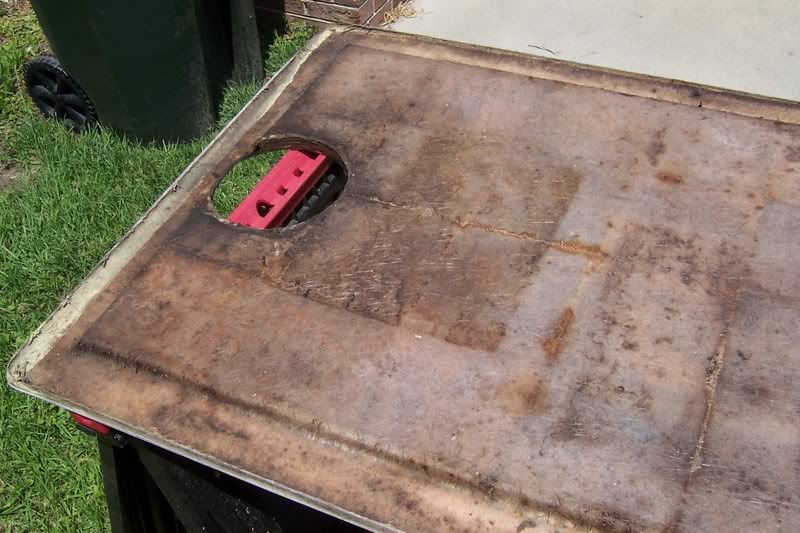
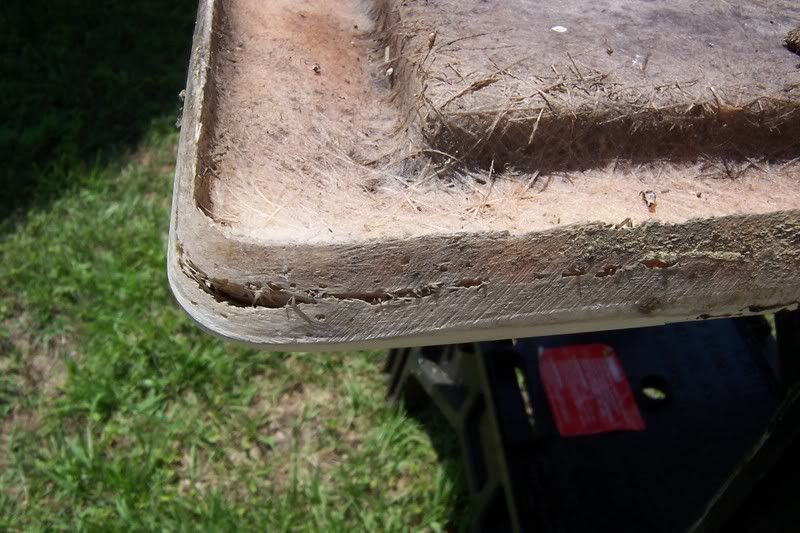
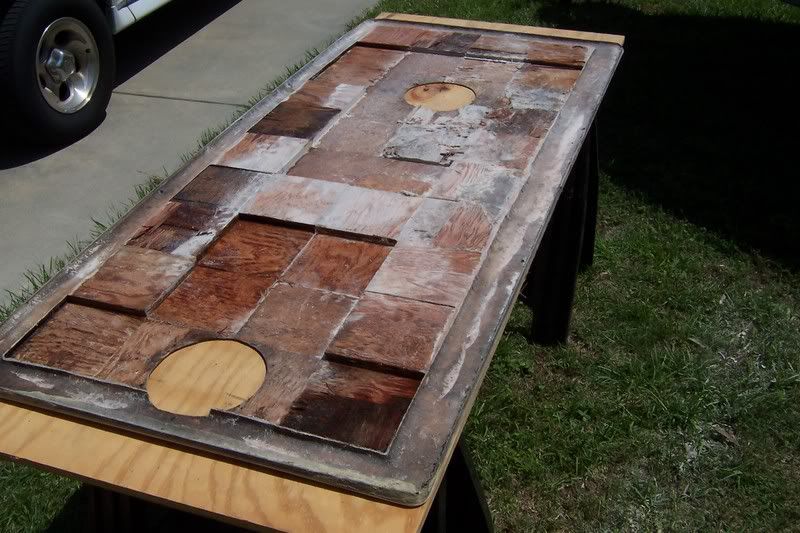
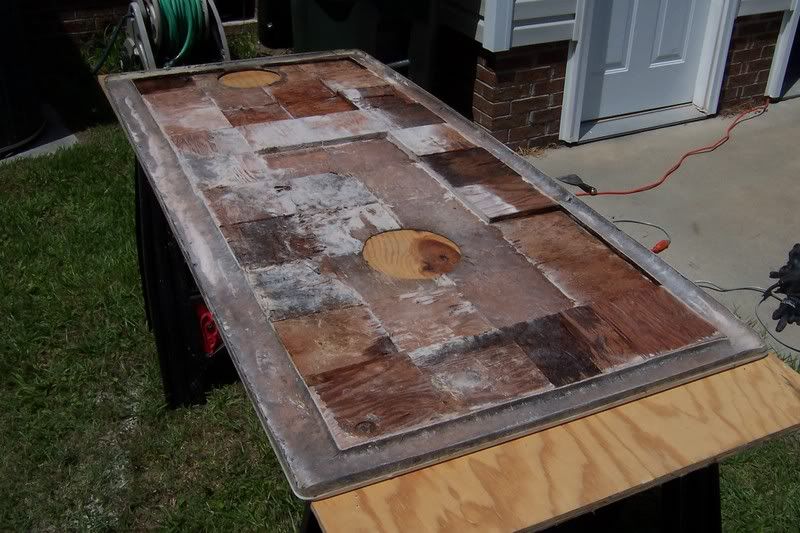
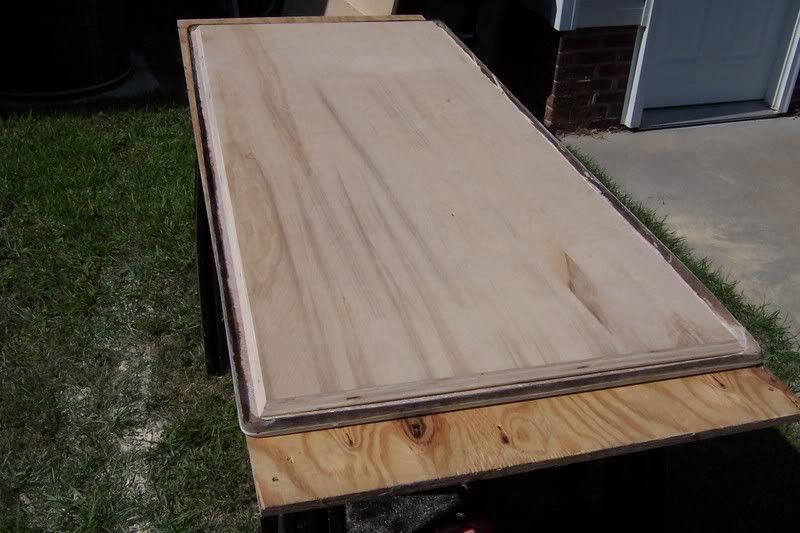
Here is the object of repair, the infamous cover over the fuel tank. Squishier than Sponge Bob
100_0731.jpg


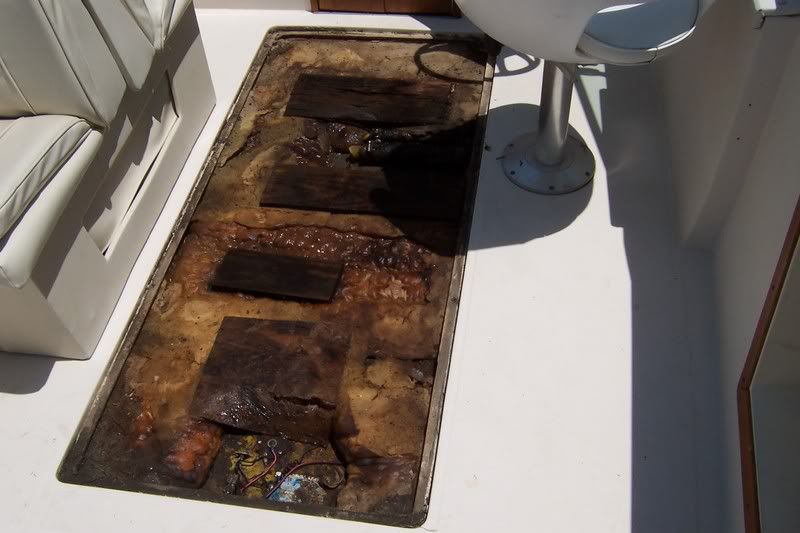
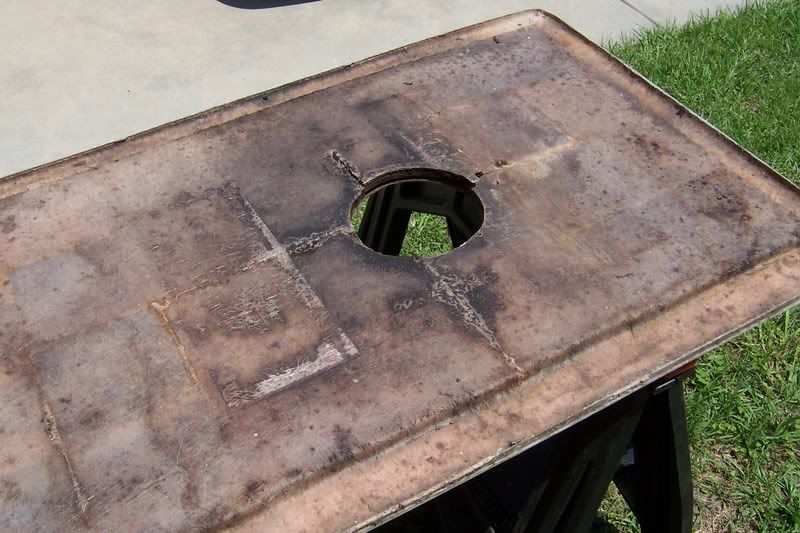
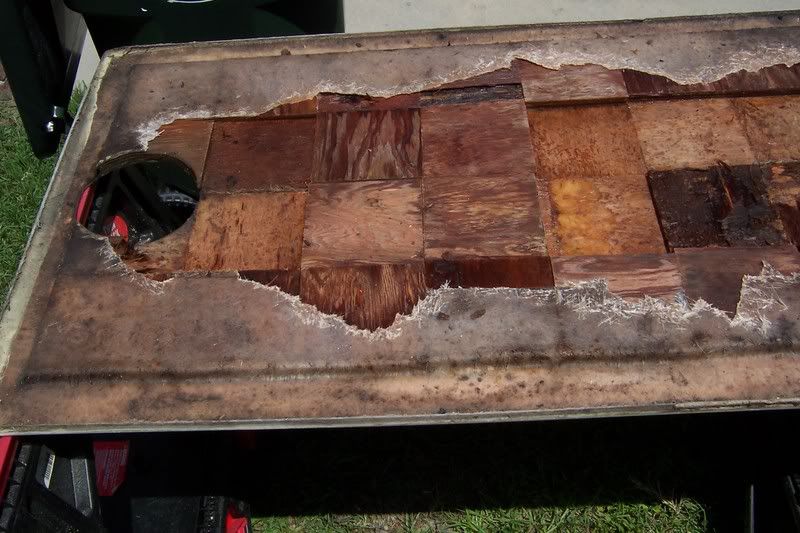
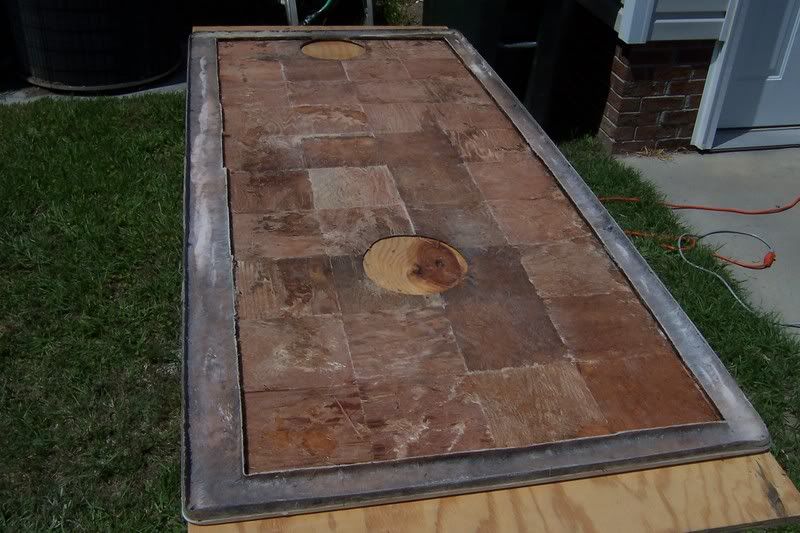
Access covers removed, eeeewwww
100_0732.jpg


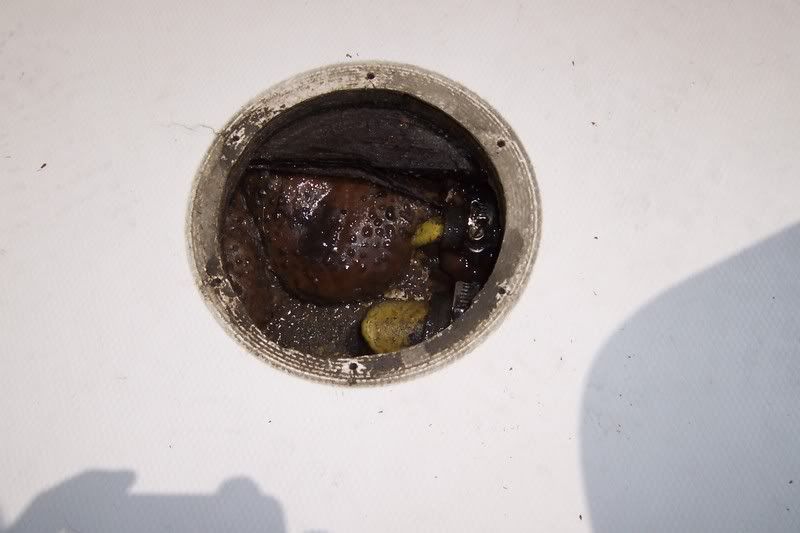
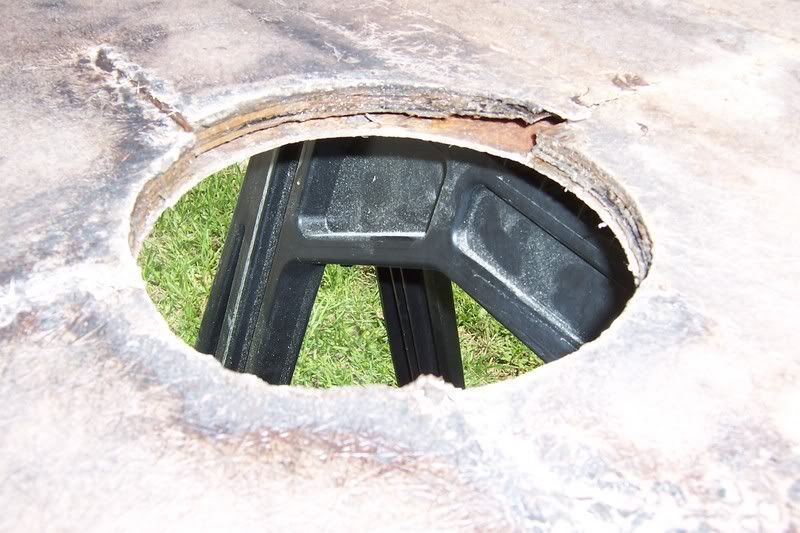
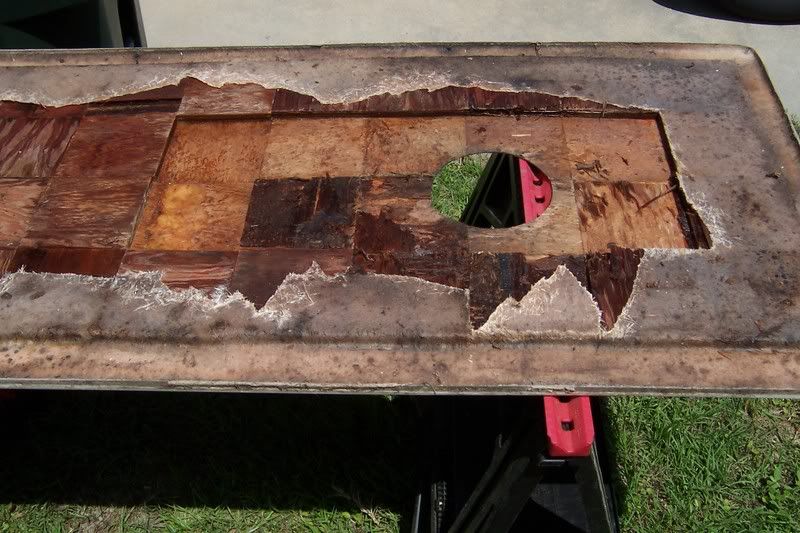
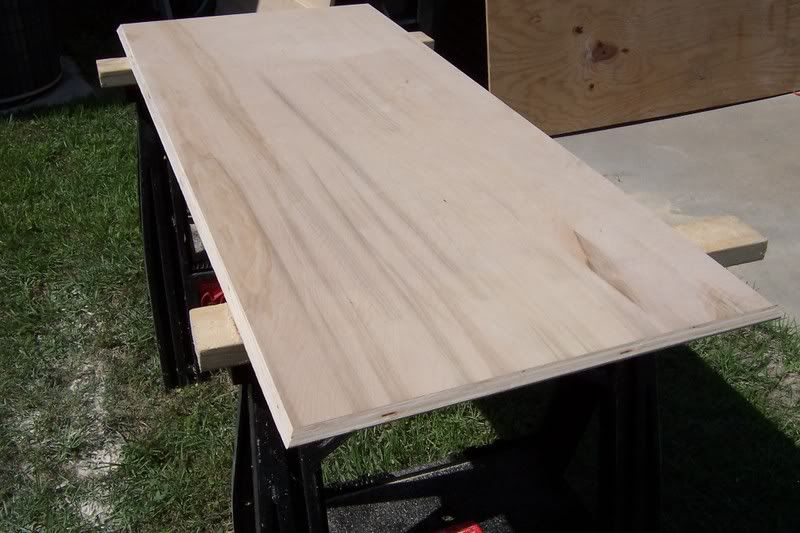
Hatch off, eeeewwwww, what the hello is that crap?
100_0733.jpg
 
A look at the construction, looks like a gel coat over resin and mat.
100_0738.jpg


At first this corner concerned me, but it is real solid. I may squirt some resin in the gap just to fill it.
100_0739.jpg

100_0740.jpg
 
The wood was totally covered by resin and mat, except where the access holes are cut out ( DUH ), water just got in and made a mess of it.

These pics are of the stuff I removed without help from any tools
100_0741.jpg

100_0742.jpg

100_0743.jpg
 
Time to bust out some power tools, I needed to knock the edge of the glass off where it went down over the edge of the wood so I could get the wood out.

Tools of the trade.
100_0744.jpg


After knocking the edge off and more hand work.
100_0745.jpg

100_0746.jpg
 
After using some putty knives.
100_0747.jpg


After grinding all the wood stuff off.
100_0748.jpg


Here is my replacement wood piece. I cut it so I had 1" of clearance all the way around the wood. The old lid had more like 2 1/2" all the way around.
100_0749.jpg
 
Notice I cut it at an angle, I am hoping this will aid in the transition with the glass mat. 35 degrees is what I went for.
100_0750.jpg


Just laid into the cover to see how I did. 1" all the way around.
100_0751.jpg

100_0752.jpg


That's it for today, I was all scratchy and wanted to get into the shower.
 
Nice job, this will be a really good tutorial. ;)

This must be a common repair for our year, I have to
do mine soon too.
 
I think it is common for all years that had the fuel tank there. The foam isn't helping anything, it just holds the moisture. Stupid foam. Makes me worry about the rest of the floor, but I haven't come across any more soft spots. I'm keeping my fingers crossed.

I have noticed that a few other areas need to be thought about though. My battery platform and trim pump platform has wood rot as well. They used some heavy duty glass in there, so they are still standing, but now that I have materials, I may just go ahead and cut them out and replace them. The bulkhead just in front of the motor well ( I/O ) needs to be replaced too, as the wood is just as slimy as snot, but I figure that to be a winter project.

I think there is a combination of causes for the hatch cover though, like is shown in the pics, the access cover holes were just kinda cut in without glassing the exposed wood, also, the screws holding in the access cover bezels were not treated with any kind of sealant, thereby letting moisture to get in there as well, and did I mention the foam? I'm gonna go through all the in deck fasteners and coat them with some 4200, hopefully its not too late ::)
 
Looks good!!

But if were me I be digging out that foam and checking out the gas tank, before it starts leaking!

You have it open, might as well keep going!
 
macojoe said:
But if were me I be digging out that foam and checking out the gas tank, before it starts leaking!
What would I be looking for exactly? Corrosion? My luck, I'd cause a leak ;) There is no smell of gasoline ( yet ) so I'm inclined to not dig around too much. However, I don't like the foam being there. Dangit, now what do I do?
 
Well your right! If you start digging you might end up with a season stopping problem??

If there is no gas smell then just finish the hatch, and fish, But this fall remove the hatch and cover for winter to dry out the foam and plan on it being a winter project!

But its something that needs to be done! Don't let it go to long!!
 
Let all the foam DRY OUT B4 ya reinstall the deck...w/it replaced and sealed properly, it shouldn't get moisture back in it ;) ...
 
One question. with the wood coming within an inch of the edge, will the hatch go back in place? Pretty sure it will, but check it before you glass it in.
 
Airslot said:
One question. with the wood coming within an inch of the edge, will the hatch go back in place? Pretty sure it will, but check it before you glass it in.


I's thinkin' the same thing ;) ... and I commend yer work FK ...looks like some good stuff goin' on there 8) ...
 
There is a 1" lip all the way around the deck (see it in the pic), That's why I went with a 1" gap. Keep in mind, that the gap will be larger by the time the edge gets to the lip (angled cut). It looks like the edge of the cover just rests on the lip. I should have plenty of room. I could just sink some screws into the screw holes for the access covers and set it in place before glassing just to make sure. Thanks guys.
 
Back
Top