randlemanboater
God
Looks like you are starting out with not much to do on that 83, nice boat.
Follow along with the video below to see how to install our site as a web app on your home screen.
Note: This feature may not be available in some browsers.
...and 84 IS the best year!
The only difference that I can see in your 83 to my 84 is the seats they look identical.It looks in good shape to me,let us know what you plan on doing with the hull.Very nice v20 you will be as happy as I am.It took me 4 months to get mine kooking the way I want and still have more to do.
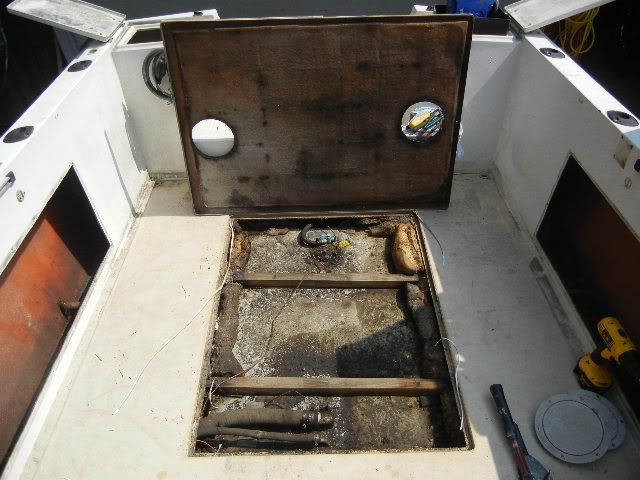
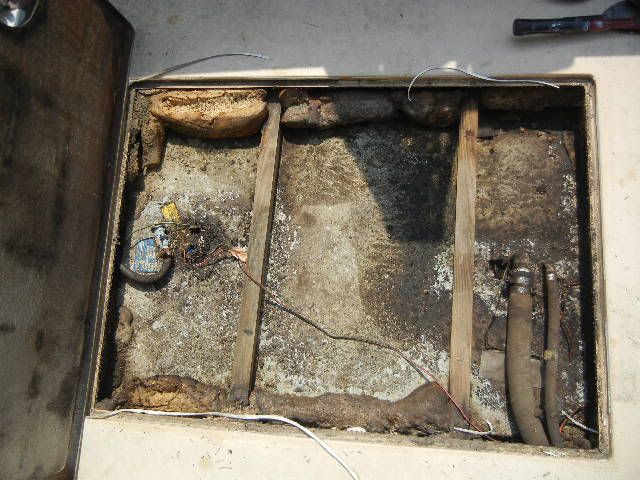
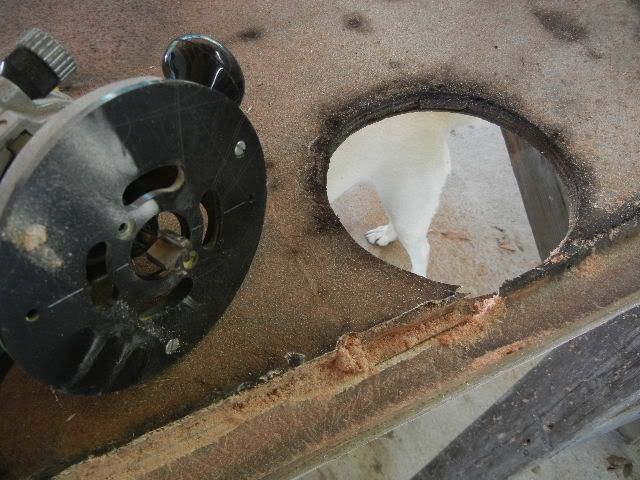
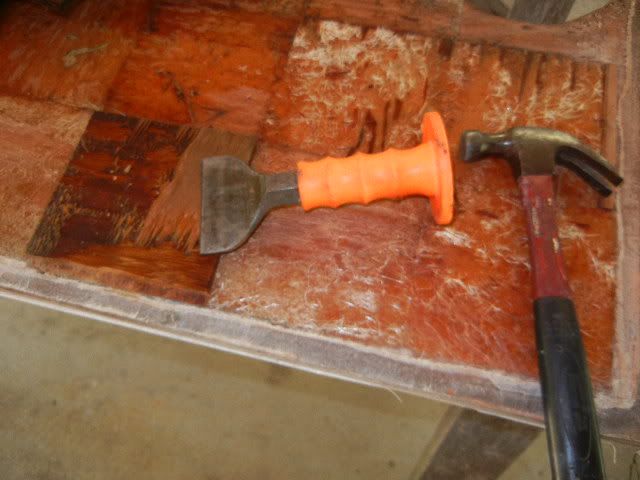
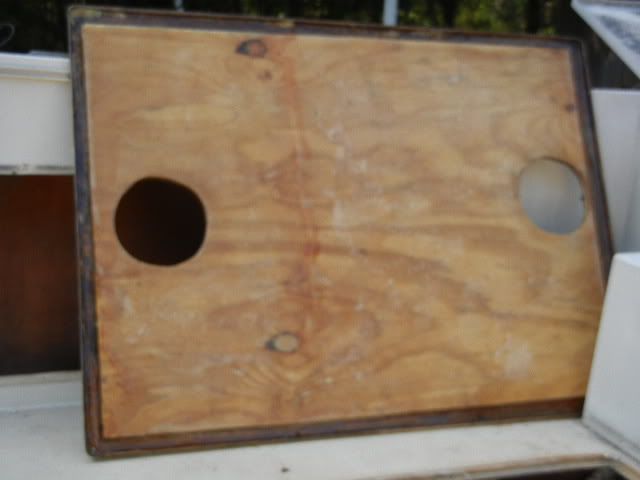
Yes, my 83 and your 84 look very similar. Besides diffent seats, my rod boxs are slanted / / forward. Your looks stright [ ] up and down. I took the floor panel over the fuel tank off this weekend, as it was soft. . Apparently, water had leaked in through access pannels on the floor. The water, however, remained trapped betweeen in the wood between floor and fiberglass. The tank and surrounding foam were both dry! The wood between the fiberglass and floor was soaking wet. I made a small tear in the fiberglass and set the panel up on end. Water has been drippping out ever since. Obviously I'll have to redo that section of the floor, but nothing else too major, other than the antifouling paint on the bottom. (I have a seprate post on that). Of interest, when I removed the tank cover, I discovered that there were 2 wooden supports running across the top of the tank. Not sure if that is original or not, as I had seen pics in an earlier post, here there were no cross braces over the gas tank. Do you know if your had the same set up? (I recall that your tank had been previously replaced). Not sure if my tank need replacing, but am curious if it is original? Not sure how to tell?
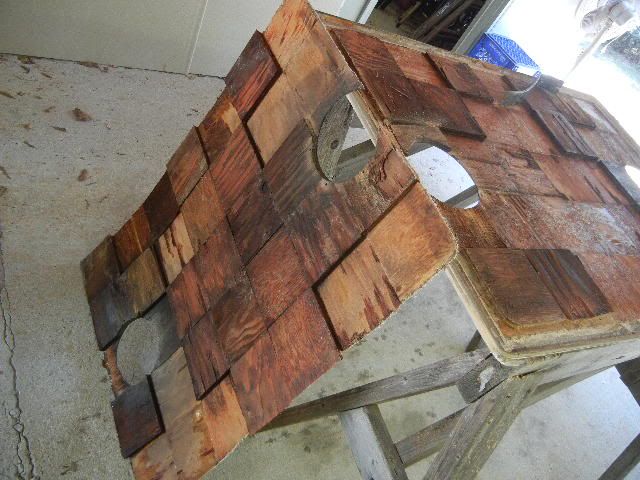
Why did Wellcraft go with the seperate tiles, instead of just one big piece of wood? What type of wood did you use? (marine grade plywood?) Also what was the thickness of your new piece? Thanks, Jim
Did you replace the tank in the above pics or just redo the tank cover?